
Quick Start
This path keeps the server and project repositories on your computer. You can replace the native server with Docker or move it to another machine later.
1. Install and start the server
Download the server package for your platform from stib.ai/download, install it, and start Stib Server. The release server tries port 50505, then 50506 through 50514 if necessary.
Check the server:
curl http://localhost:50505/api/healthIf 50505 is unavailable, use the URL reported by the server. See Server Binary or Docker for complete instructions.
2. Install and connect the desktop app
Install Stib from the same download page. At first launch, enter the server URL and select Test, then Connect.
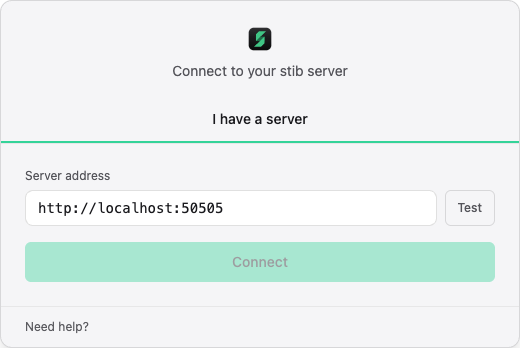
The desktop app remembers recent servers. A local native server is also discovered from the port file it writes at startup.
3. Complete onboarding
The onboarding path depends on your account role.
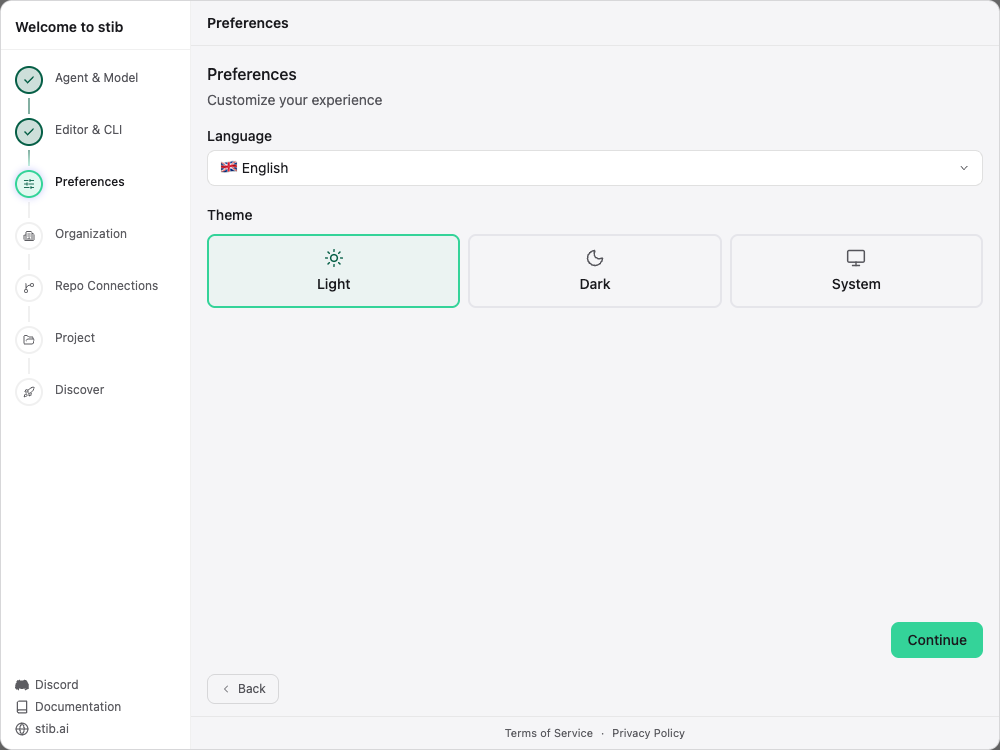
Super administrator path
A super administrator sees all seven setup steps:
- Agent & Model — connect an AI provider and select the default model;
- Editor & CLI — select the editor and terminal Stib should use;
- Preferences — choose the language and theme;
- Organization — create the workspace;
- Repo Connections — prepare repository access;
- Project — create the first project;
- Discover — complete the introduction.
User path
Every other account follows a lightweight personal path with three steps: Editor & CLI, Preferences, and Discover. Their onboarding does not offer agent, organization, repository connection, or project setup; the super administrator prepares those shared resources.
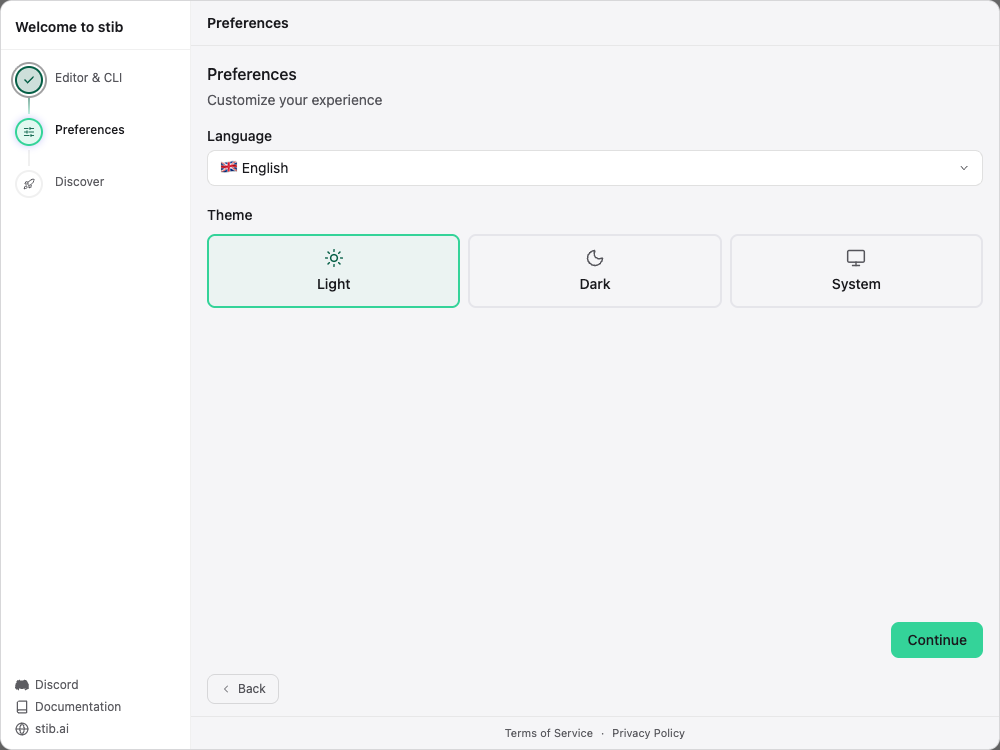
Skipped optional steps remain available in the corresponding Settings sections.
4. Create or open a project
A super administrator can select Create project, choose an organization, and enter the repository path as seen by the server. Stib validates the path and detects whether it is a Git repository. The project settings later let you enable sandboxing and .mcp.json loading.
With a user account, open an existing project from the project list. Initial project creation and configuration are reserved for the super administrator.
5. Configure an agent credential
Open Settings → Server → Credentials. Add a provider credential, complete its OAuth or API-key flow, and run the offered verification. Then choose a default agent/model on the board or column.
6. Create a card
Select New card or the plus button in a column. Enter a precise prompt, then review:
- target column and labels;
- selected credential, agent, model, and effort;
- main branch or isolated Git worktree;
- manual or Auto mode;
- optional recurring Loop;
- structured Agent mode or interactive Terminal mode.
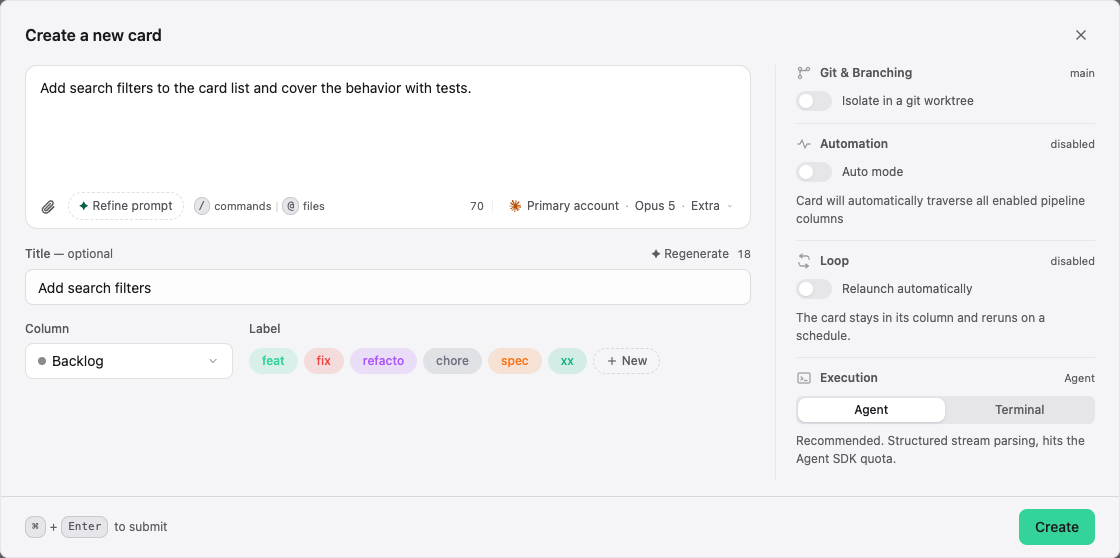
Create the card. If it enters an execution column and activation is enabled, Stib starts the configured agent. Open the card to follow the conversation and review its changes.
Next: Cards, Agents, and Git Integration.