
What is Stib?
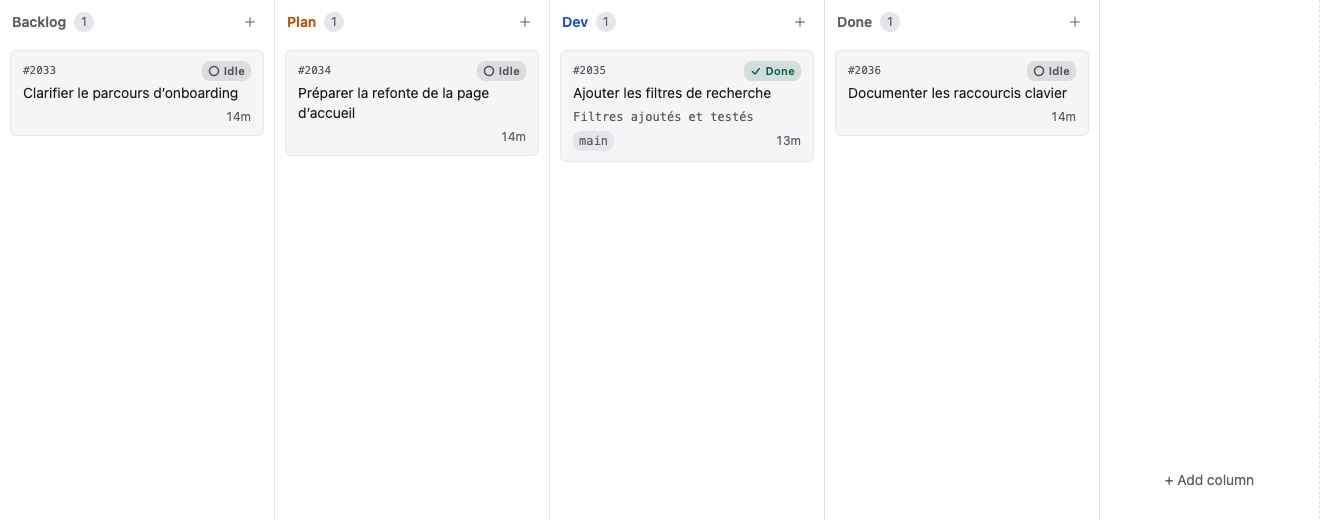
Stib is a self-hosted workspace for delegating software tasks to AI coding agents. A card contains the objective and execution settings; the server starts the selected agent in the project repository; the client streams the conversation, tool activity, and Git changes.
Stib is not tied to one provider. The server exposes the agents, credentials, and models that are available in your installation. You can choose defaults at board and column level, then override them on an individual card.
Product architecture
| Part | Responsibility |
|---|---|
| Stib Server | API, authentication, SQLite data, projects, agent processes, Git/worktrees, integrations, audit, backups |
| Desktop app | Native client for macOS, Windows, and Linux; connects to one server at a time |
| Web app | Same main workspace, served directly by the server |
| Mobile app | Companion client for monitoring and interacting away from the desktop |
The server must be able to access each project repository. A remote desktop client does not upload a local repository to the server.
Main workflows
- Organize work across organizations, projects, boards, groups, columns, and saved views.
- Create cards with a prompt, labels, a model, Git isolation, auto mode, loop scheduling, and Agent or Terminal execution.
- Chat with running agents, answer questions, send files or masked secrets, and review their tool activity.
- Inspect changed files, diffs, branches, worktrees, stashes, and history in the Git workspace.
- Automate column transitions, scripts, webhooks, external issue imports, and recurring loops.
- Administer users, credentials, API keys, authentication, skills, integrations, backups, log export, and encryption.
- Trace important actions in project and organization audit logs.
Data ownership
The Stib database and attachments live on the server. Source files remain in the repositories accessible to that server. Agent-provider traffic follows the provider and credential you configure; Stib does not turn a third-party model into a local model.
Continue with Prerequisites, then follow the Quick Start.